SF6 therefore continues this convention, with many new offensive and defensive options in tow. But because the Drive System depends on a gauge that depletes and regenerates throughout a match, meter management is now even more important than ever before. And naturally, more options means more things to learn and think about in the heat of battle.
If you’re struggling to make heads or tails of the Drive System, worry not — we’re here to guide you through it.
What is the Drive Gauge in Street Fighter 6?
The Drive System begins with the Drive Gauge — a meter consisting of six individual segments, amounting to 60,000 points of meter in total. The meter itself is found right under each player’s health bar. Both players start every round with a full Drive Gauge, so there is no need to build the meter through the use of special moves, hitting the opponent, or taking damage yourself.
The Drive Gauge takes on a green-yellow gradient when full, and an orange-red gradient when low. via CAPCOM
The most obvious way that the Drive Gauge depletes is through the use of Drive System mechanics, which all cost varying amounts of meter to execute. This isn’t the only way for it to run out, though, as blocking attacks actually costs Drive Gauge as well. Overly defensive playstyles are therefore weaker compared to previous Street Fighter games, as blocking for extended periods of time will only lead to eventual exhaustion of the Drive Gauge.
Drive System mechanics can, however, be performed independently of how much meter is left over. For example, players can execute a Drive Rush Cancel (more on this later), which normally costs three bars of meter (30,000 Drive Gauge points), even with just one bar left over. This will fully deplete the gauge, of course, but is useful for closing out rounds even with low Drive Gauge.
Burnout
A character with no Drive Gauge left over goes into Burnout state, which causes several negative effects. The most obvious one is that they lose access to all Drive System-related mechanics. Furthermore, blocked special moves or Super Arts now cause chip damage equal to 25 percent of their normal damage values, which can KO characters with low health.
Blocking also causes four additional frames of blockstun during Burnout, which in turn causes many of the moves in the entire game to become safe on block. This means that players in the Burnout state will have a much harder time defending against constant pressure, and may even lose the round just from chip damage alone.
Once in Burnout, the Drive Gauge enters a period of gradual regeneration — which is different from the usual regeneration it has outside of Burnout. All methods of gaining additional Drive Gauge work here, so it actually may be beneficial to get aggressive during Burnout in order to speed up the recovery.
Drive Impact
Drive Gauge cost: 10,000
Perhaps the most obvious part of the Drive System is Drive Impact (DI): an advancing strike that comes with two hits of armor. The armor allows characters to blow straight through most attacks without experiencing blockstun, thus absorbing and countering their opponents’ moves. It is performed by pressing both heavy attack buttons at the same time.
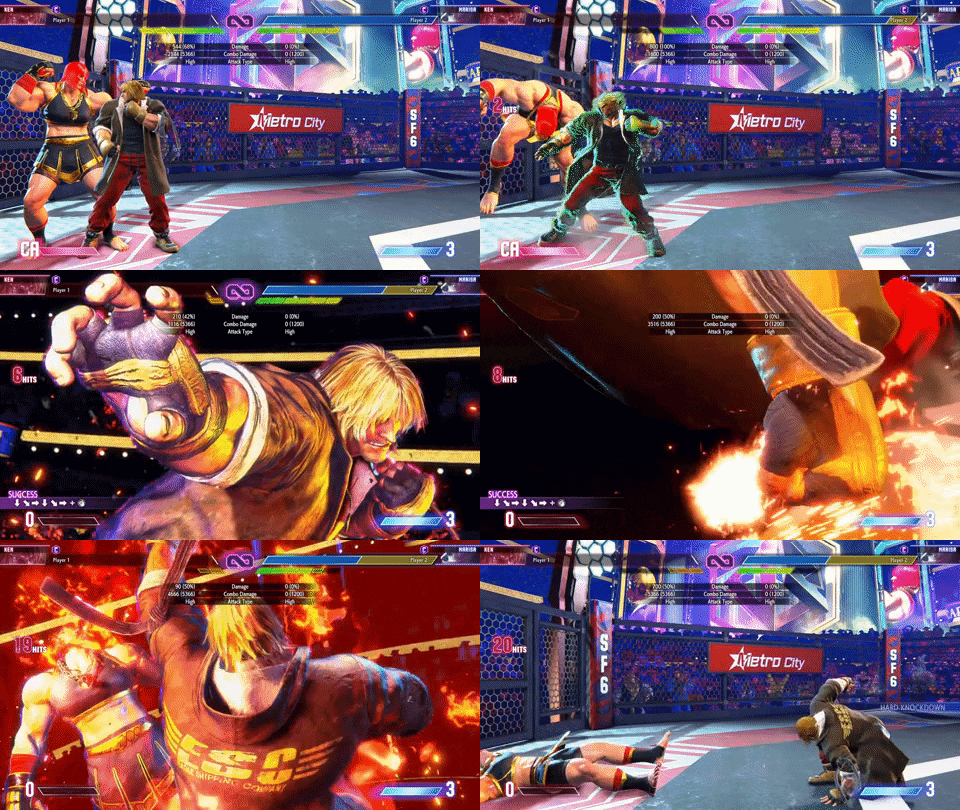
If a Drive Impact successfully absorbs a move as such, it puts the opponent in a crumple state upon landing. This deals a significant amount of damage, depletes their Drive Gauge, and opens them up to a massive followup combo.
Just the mere presence of Drive Impact therefore makes it a risky proposition to throw out projectiles from midrange or normal attacks with long recovery times. Players can just DI through fireballs from a few steps away and get a full combo afterwards, making it dangerous to play the zoning game from too close in.
Using Drive Impact when your opponent is cornered will cause a wall splat, whether it hits or it gets blocked. Wall splatted opponents are unable to act, and are vulnerable to a followup combo like when they get crumpled by DI. However, wall splat combos are subject to additional damage scaling and combo limitations, making them quite a bit weaker compared to regular DI combos.
When hitting an opponent in Burnout, though, Drive Impact becomes even more devastating. Rather than causing a wall splat, it causes Stun, which opens opponents up to longer and more damaging combos when compared to those possible with a wall splat. Characters who are cornered during Burnout therefore have to be really careful about Drive Impact canceled from normal moves — though they can use a reversal Super Art on reaction to counter this.
How do you counter Drive Impact?
While very powerful on its own, Drive Impact does have a few weaknesses that allow players to deal with it effectively. First off, DI has 26 frames of startup — nearly half a second before the move even becomes active. This is just enough time for the opponent to react in one of two ways: either by jumping or countering with their own Drive Impact.
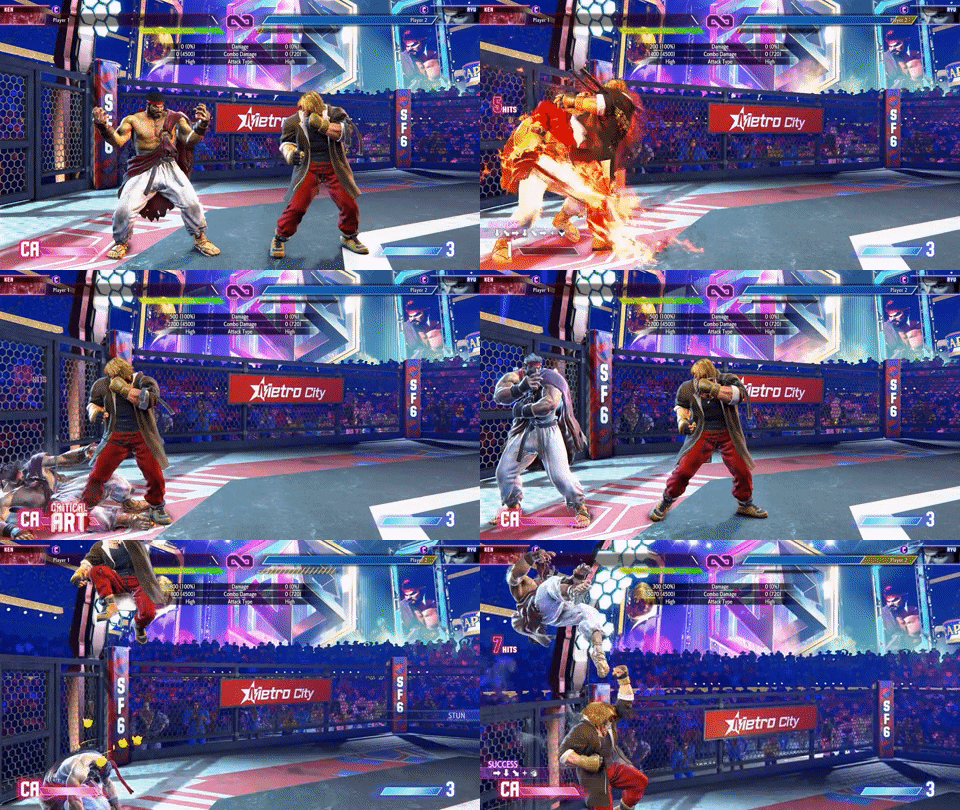
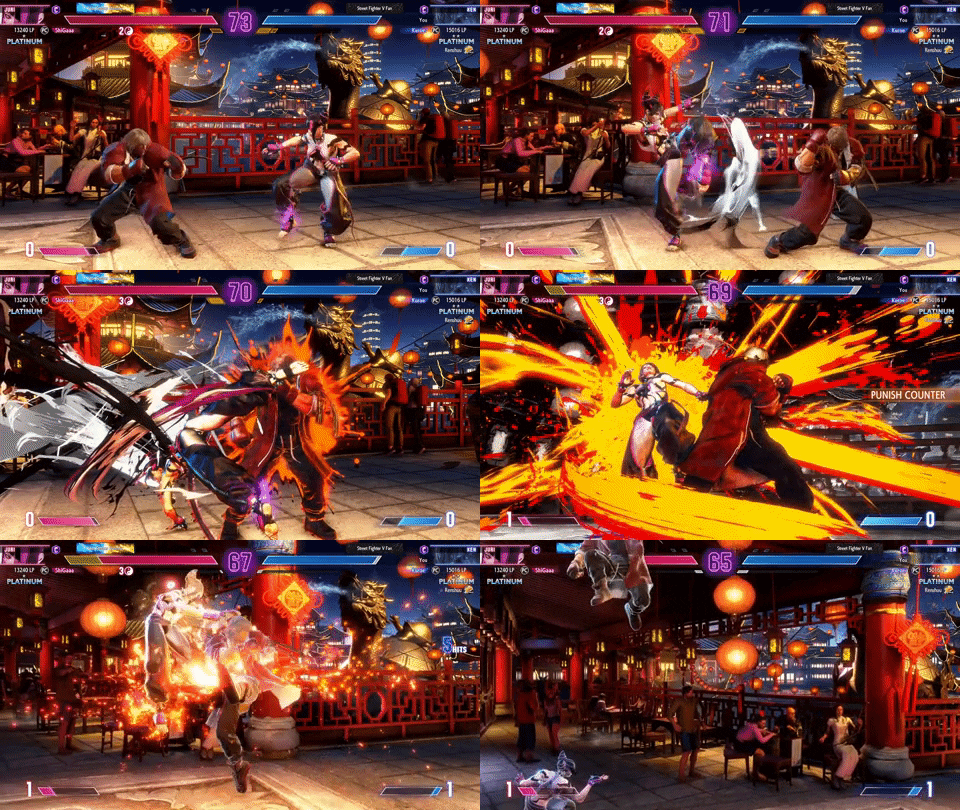
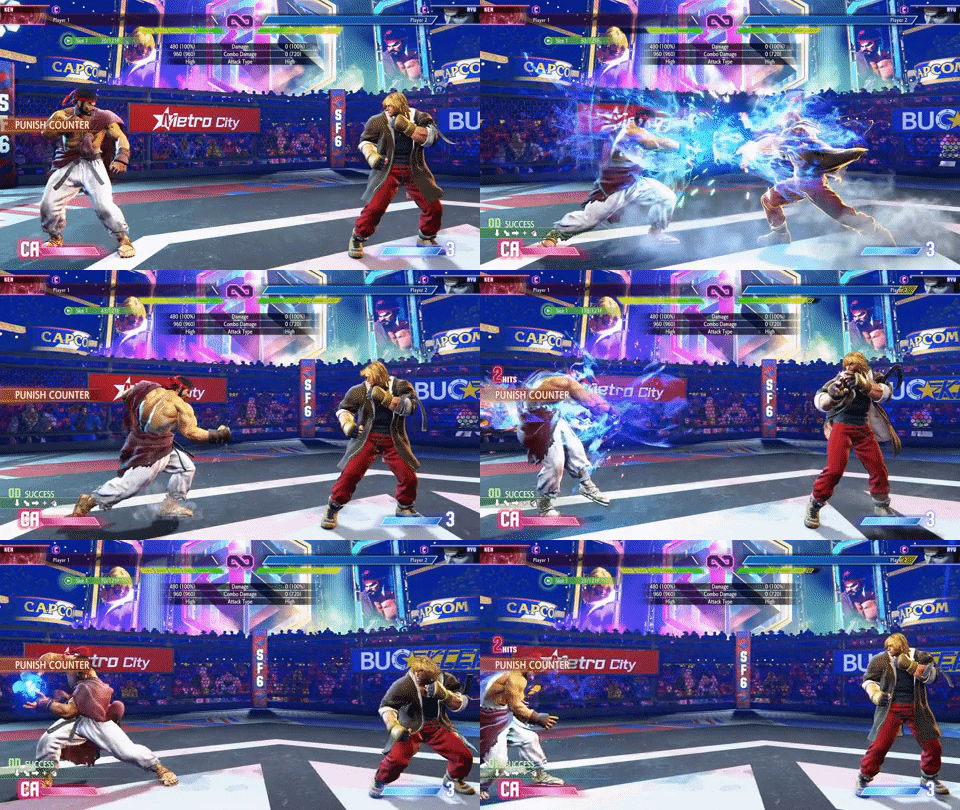
The latter is the most immediately rewarding method, though naturally it requires you to be on point with your reactions for it to work. This results in a Punish Counter, which deals increased damage and takes away more Drive Gauge from the opponent. From there, you get the same crumple state as normal, so you can retaliate with a full combo as a reward for reacting accordingly.
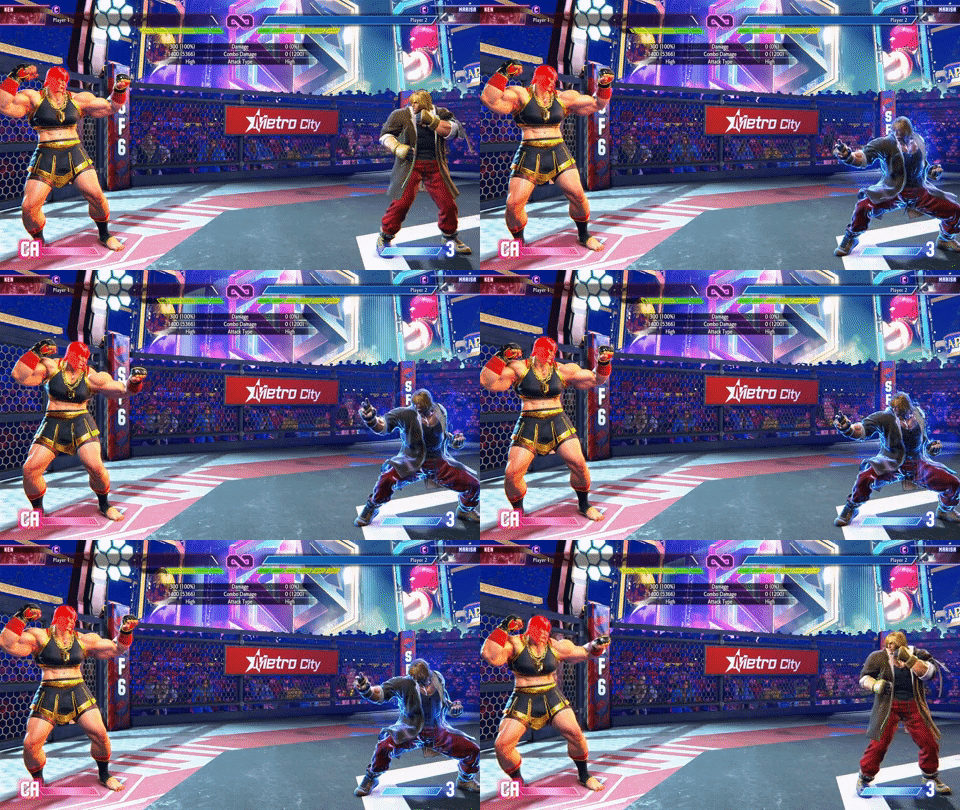
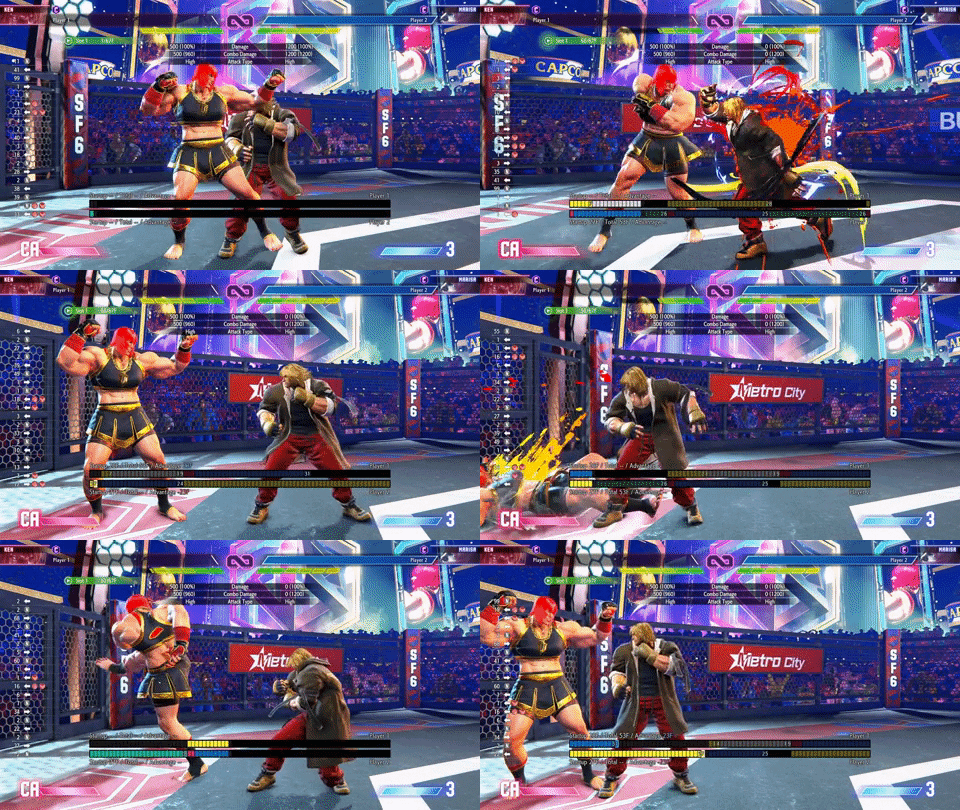
Secondly, the armor on Drive Impact is susceptible to chained light attacks. Three chained light punches, for example, will knock the opponent right out of the DI animation after the second punch. Armor breaking moves such as Marisa’s charged Gladius also punch right through DI, nullifying it on hit.
Finally, characters still take damage even while the armor on Drive Impact is active — albeit gray damage rather than actual permanent damage. This means that DI cannot save a player from a low health situation, as they will get KOed if they absorb an attack that would have done so anyway on a normal hit. Thus, Drive Impact is not a get-out-of-jail-free card when you’re on your last legs.
Drive Parry
(Drive Gauge cost: 5,000 on initial activation/3,000 per second thereafter when held)
The second most impactful mechanic in the Drive System is the Drive Parry. Drive Parry nullifies all incoming strikes and projectiles from the very first frame, making it a very useful defensive option in almost every situation. Parrying moves this way results in the same frame advantage as if you blocked them, which allows you to punish unsafe attacks as usual.
Drive Parry is executed by pressing and/or holding both medium attacks simultaneously. Tapping Drive Parry causes it to be active for eight frames (8/60ths of a second), while holding it sustains the parry animation for as long as the buttons are held down or you run out of Drive Gauge.
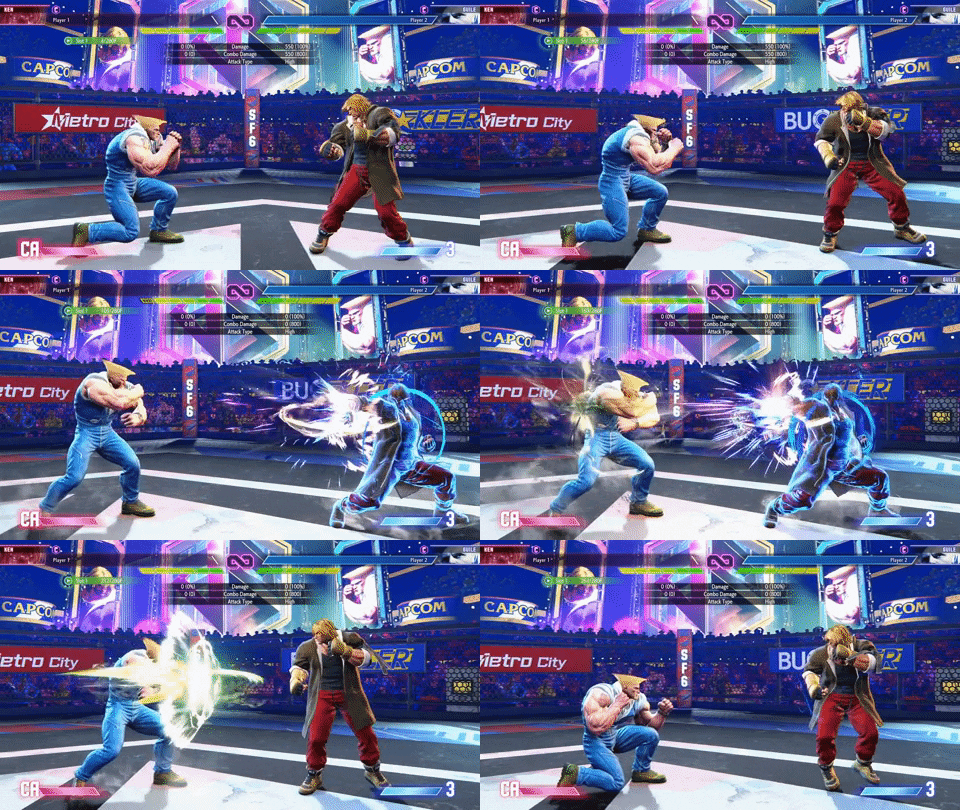
Drive Parry is used primarily against aggressive players that try to hit you as you get up from a knockdown. It is, however, extremely vulnerable to throws, which will count as Punish Counters when landing on someone with Drive Parry active. It’s also great against projectile-based zoners like Guile and JP, as you can simply parry their ranged attacks in order to slowly gain ground on them.
There exists a special version of Drive Parry called the Perfect Parry, which occurs when parrying an incoming attack within the first two frames (2/60ths of a second) of the attack itself. When successful, the screen goes into slow motion for a short period, allowing the character who parried this way to react to the fact that they got a Perfect Parry. A full combo is guaranteed after the screen freeze, though it will be heavily scaled down in terms of damage.
Even with its weaknesses, Drive Parry remains an incredibly vital part of defense in Street Fighter 6. Its presence is perhaps the very reason that throw loops exist in SF6, as Drive Parry would otherwise be completely unbreakable on wakeup.
Drive Rush
(Drive Gauge cost: 5,000 from parry/30,000 when canceled into from a normal)
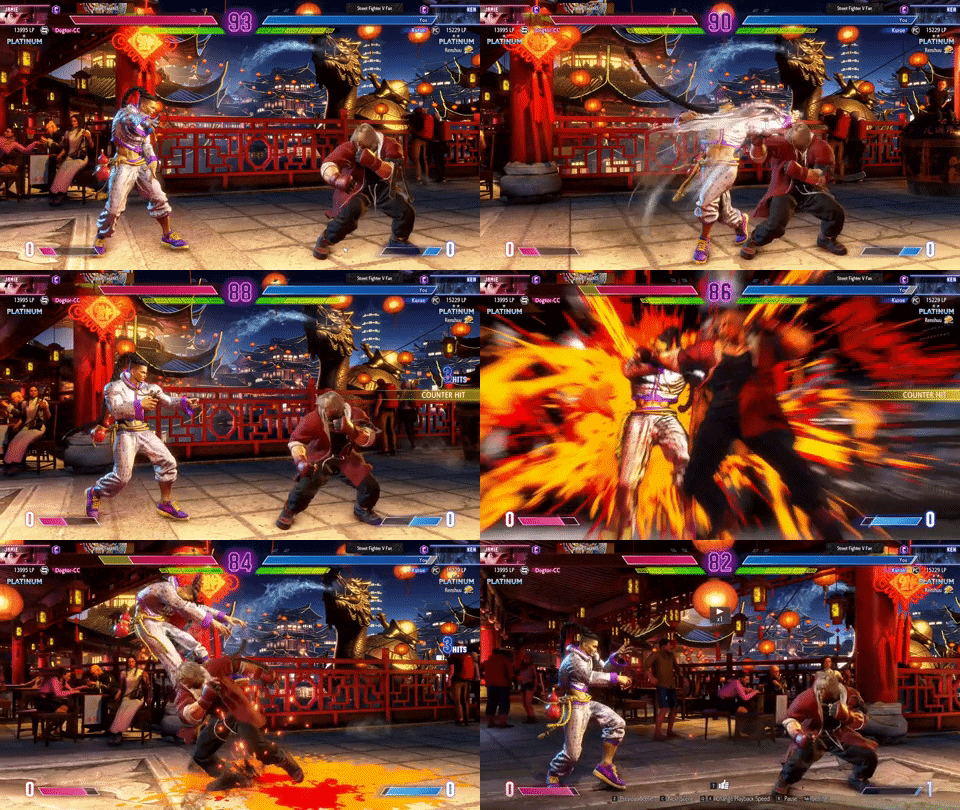
Performed by tapping forward twice while holding down Drive Parry, Drive Rush causes a character to dash forward — in a manner much quicker than a normal dash. Any normal move executed immediately after a Drive Rush gains an additional four frames of advantage on either hit or block; this is on top of the frame advantage it already gets outside of Drive Rush.
This makes Drive Rush an enormously powerful pressure tool. Moves that would otherwise cause you to lose your turn when blocked suddenly become much more dangerous, as you can continue your offense where it would not have been possible otherwise.
It is also possible to perform a Drive Rush by canceling into it from a normal on hit or on block; this is known as a Drive Rush Cancel. This costs six times as much meter compared to going into Drive Rush from Drive Parry, but in many cases is the only way to extend combos.
Outside of its application in combos, Drive Rush Cancels can be used to close the distance to your opponent and to put them into a mixup situation. For instance, you can throw them right after the animation ends, or continue to apply pressure with normal moves.
There is one big weakness to Drive Rush, though: you cannot block or parry in the middle of its animation. Thus, it is somewhat risky to attempt a raw Drive Rush from a Drive Parry if you don’t know what your opponent might do in response. For example, going for Drive Rush right after a Level 3 Super Art (most of which cause hard knockdowns) might backfire on you if your opponent uses an invincible reversal on wakeup. So before you use Drive Rush, make sure you know the risks and that you are willing to commit to it.
Drive Reversal
(Drive Gauge cost: 20,000)
Drive Reversal is similar to Alpha Counter from the Street Fighter Alpha sub-series and V-Reversal from SFV. It is a purely defensive mechanic that can only be performed while in blockstun, by pressing forward and heavy punch plus heavy kick simultaneously.
This causes a knockdown which cannot be comboed from, so it effectively resets the situation. Drive Reversals can therefore be used to relieve offensive pressure from yourself, as well as to fight your way out of the corner. It even has offensive utility, since you can knock your opponent back into the corner if he tries to fight his way out with normal moves.
However, Drive Reversals are all punishable on block, so they’re not nearly as safe to just use as liberally as V-Reversals were in SFV. Some moves recover quick enough to allow the user to block the incoming Drive Reversal, so be wary of using this against certain moves.
Overdrive
(Drive Gauge cost: 20,000)
Replacing EX moves from previous Street Fighter games, Overdrive (OD) moves act exactly the same way, but they cost Drive Gauge instead of EX meter. Performed by pressing two punch or two kick buttons in a special move instead of one, Overdrive moves exhibit unique properties compared to non-OD specials — such as increased invincibility, extra damage, faster startup and/or recovery, and more.
For example, Ryu’s OD Hadouken hits twice rather than once, and is actually advantageous on block. This makes it useful for winning projectile wars from a distance, as well as applying pressure on a cornered opponent. His OD Shoryuken, meanwhile, has full body invincibility on the first frame, making it his go-to reversal option against highly aggressive opponents.
The fact that OD moves use the Drive Gauge allow them to be canceled into Super Arts — in contrast to SFV where using an EX move would lock a character out of their Critical Art until that segment of the gauge is built up again. This of course means that players can maximize damage by using OD moves in a combo and ending in a Super Art.
But as with anything else in the Drive System, overusing OD moves can put a character into Burnout, so careful management is still important here.
